Starting the WebDAV-Server
Learn how to configure and start the builtin WebDAV server in order to manager your files via Wi-Fi.
Open the WebDAV screen

When you are in portrait orientation, tap on the Files button (1) to open the file manager popover.
Tap on the Wi-Fi button (2) to open the WebDAV screen.
Configure

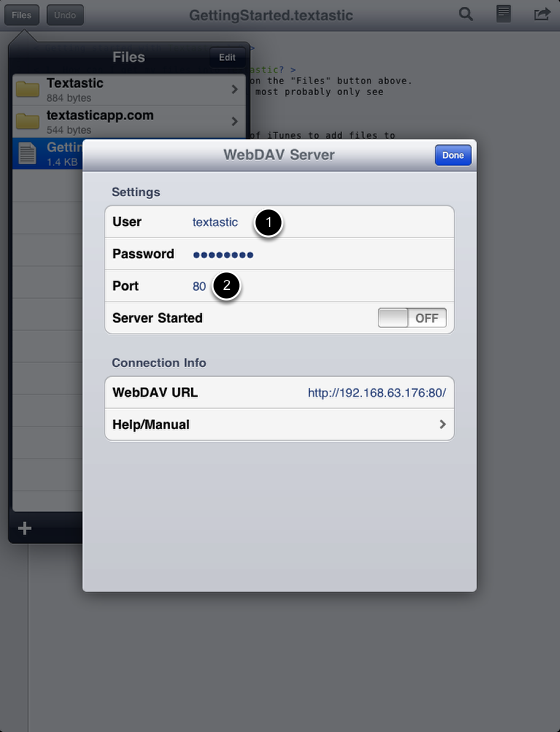
The WebDAV server always asks for user credentials. By default, the user name is "textastic" and the password is "password". It's recommended to change these settings before starting the server. (1)
You can choose a custom port or use the default port 80 (2).
Start the Server

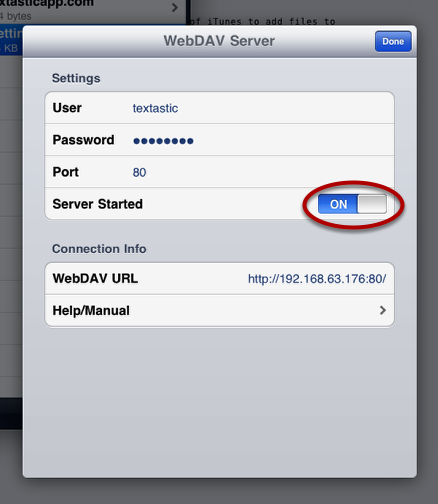
Start the WebDAV server by flipping the "Server Started" switch to ON (3).
Use a WebDAV client to connect to Textastic
Connect to the server you just started from your Mac or from Windows.
Notes
Textastic will not enter standby mode as long as the WebDAV server is running. Use the power button on your iPad to manually put it to sleep.
For security reasons, the WebDAV server is not automatically restarted when you close and then re-open the app. This is to prevent the app from exposing your files without your knowledge.